| Table of Contents |
|---|
Initial Setup

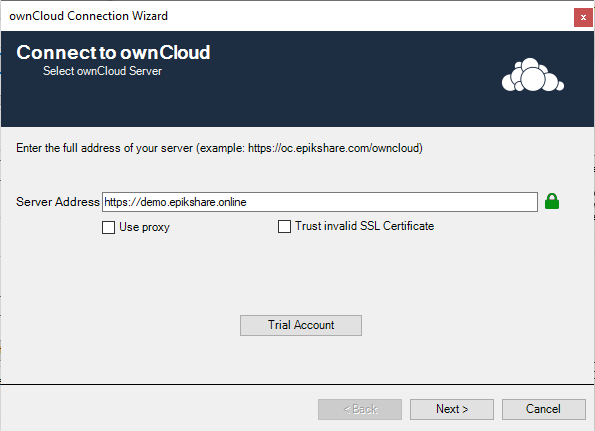
- Open Settings
For the initial setup find the "Settings" button in the "ownCloud" tab. This will open the Connection Wizard
Connection Wizard
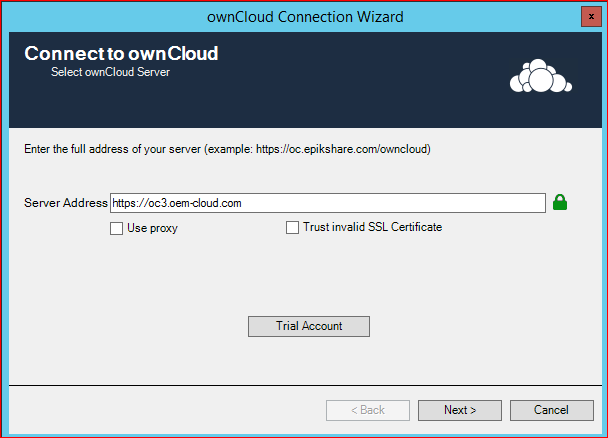
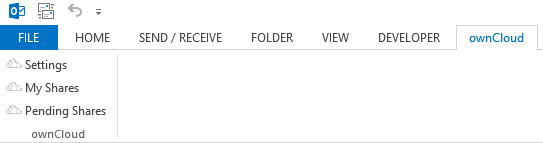
Enter the address
...
- Enter the address of your ownCloud/epiKshare Server + Username + Password
- Click "Connect"
to your owncloud server. Make sure to put the whole url to the "login" page (except the login or index.php bit).
- User Proxy: Check this if you have a proxy to reach the internet. You will have to configure this at a later stage
- Trust Invalid SSL Certificate: If you run your owncloud using a self signed certificate, make sure this is checked
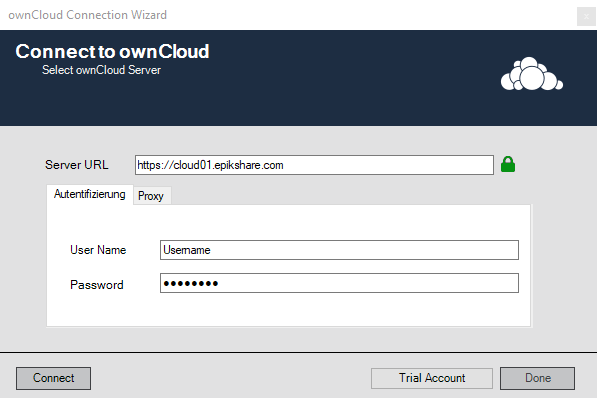
Authentication
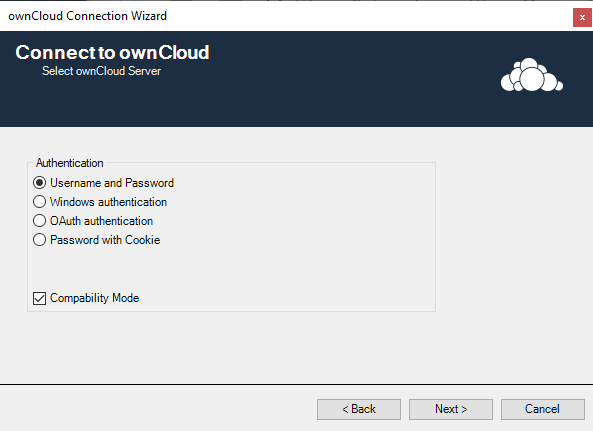
Make sure to select the right authentication method for your ownCloud server:
- Username/Password: default authentication using your owncloud username/password
- Windows authentication: Single sign on using your windows Account (Enterprise only)
- OAuth authentication: If OAuth is enabled on your ownCloud (this will open a oAuth Login window)
- Password with cookie: Same as Username/Password, but use the classical login flow
You can use compatibility mode if you have problems using login because. This adds some workarounds for older or non-standard ownCloud installations.
- Enter your User Name and your Password
- Click "Done"
- After the message "Connection Successful" click "Cancel" and restart your Outlook
| Info |
|---|
If you use a proxy with username and password, select Proxy -> Custom |
- After a successful connection test, your license is being verified and if it fails you will be sent to the License Dialog
- To install a valid license or activate a demo license click OK
License Setup
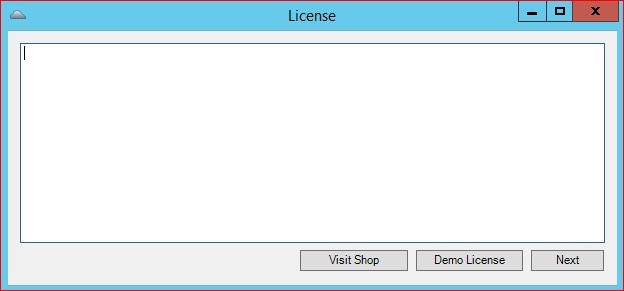
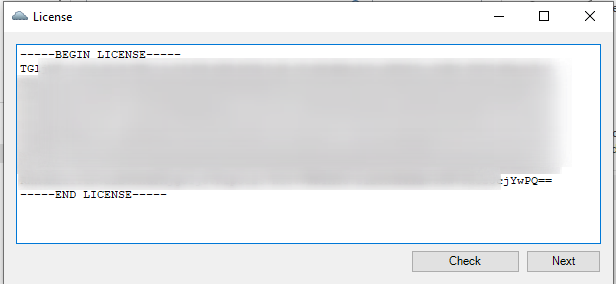
- Insert a valid license key or activate a "Demo Key"
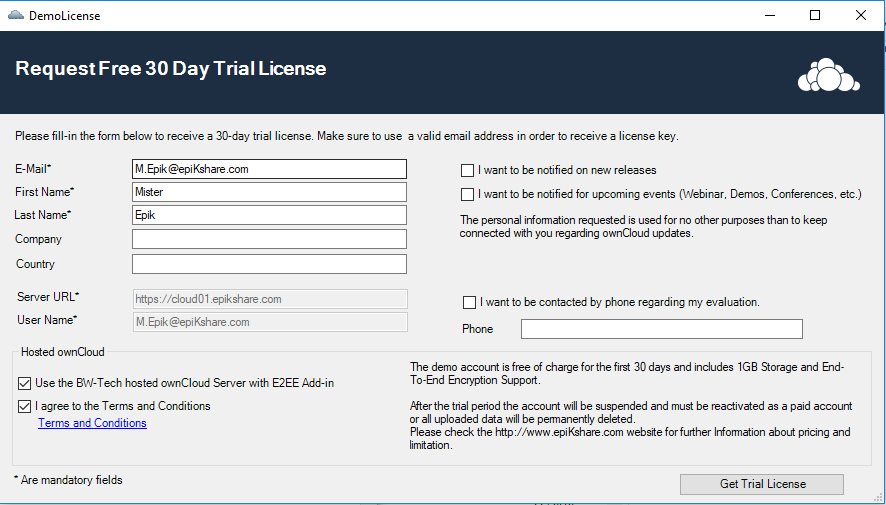
- Request your free 30Days Trial License
- Click "NextGet Trial License"
FAQ
I am receiving the Message "Connection Failed"
...
- When the initial connection was successful you should see the green message "Connection Successful"
- Restart your Microsoft Outlook
...
Share Settings
...
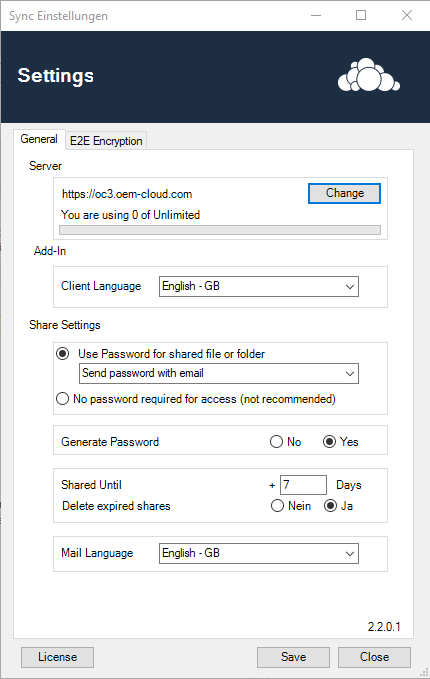
- Enter a valid ownCloud/epiKshare Server Address, username and password
- overview of your used storage
- Add-In: Change the Add-In's Language
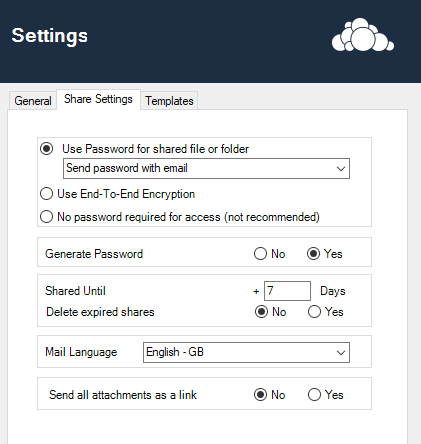
- Share Setting:Use Password for shared file/Folder
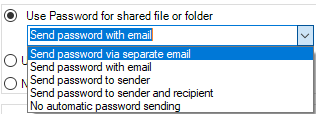
- Send password via separate email. : When you share a file or folder, a separate E-Mail with a Password will be created in the background and sent automatically after creation
- Send password with email. :This option will send the file or folders passwort within the same email
- Send password to sender: Send the password to the sender (=you)
- Send password to sender and recipient: Creates 2 E-Mails containing the password. One for the sender (=you) and the recipient
- No automatic Password sending: This Option use a password, but it dosn`t send the password by mail, you will have to manually notify the recipient of the password
- Generate Password: When this option is enabled, a password will be created automatically for a new share
- Shared Until: The Share will be available for this number of days by default
- Delete expired Shares: if enabled, expired shares will be deleted from the owncloud server
- Mail Language: A pre-written text is inserted into the email in the selected language (also used for the password mail)
- Send all attachments as link: If enabled any attachment will be uploaded automatically on send
Template Settings
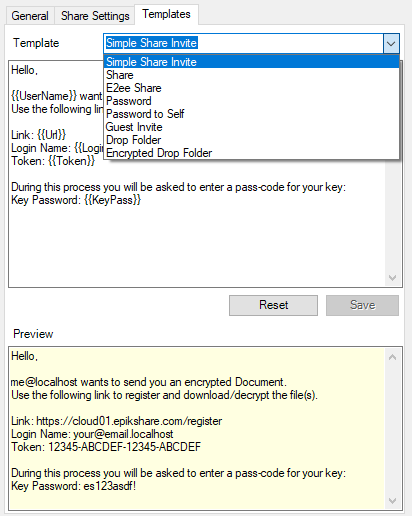
You can adjust all Templates that are used when sending a mail. A preview will be generated to show how the placeholders are used.