System Prerequisites
Windows Operating System 64 Bit: Win 7, Win 8.0, Win 8.1, Win 10, Windows Server 2012, 2012 R2, 2016
Microsoft Outlook 32 Bit and 64 Bit: 2010, 2013 and 2016
Download
...
https://es01.epikshare.com/index.php/s/R2K2ybDBzuHlMrJ
...
https://oc.oem-cloud.com/en/owncloud-outlook-plugin-annual-license
License
License type: Annual license per named user
Videos
...
https://www.youtube.com/playlist?list=PLw_eyGmVBqHBJsGqO_r5cX47ExW9bgioA
Manuall Installation:
- Download the Outlook Add-In
- Wiht outlook closed, install with an adminstrative account and follow the installation instructions
- Go to the Add-In Tab and open the settings to setup the host name and user credentials of the cloud server
- After the Installation restart your Outlook
Silent/Automated MSI Installation
Using the silent installation, you can skip the setup/configuration step.
Installation requirements: dotnet 4.6, Visual Studio 2010 Tools for Office Runtime (vstor_redist.exe) 10.0.60714
msiexec /qb /i "Outlook-AddIn.msi" SSO=true BASEURL="https://ownCloud.server.url" LICENSE="60513330-2a270eba-7772d5ae250eb6e12c9db3d5108e306ba82f0f13"
Initial Setup/Configuration
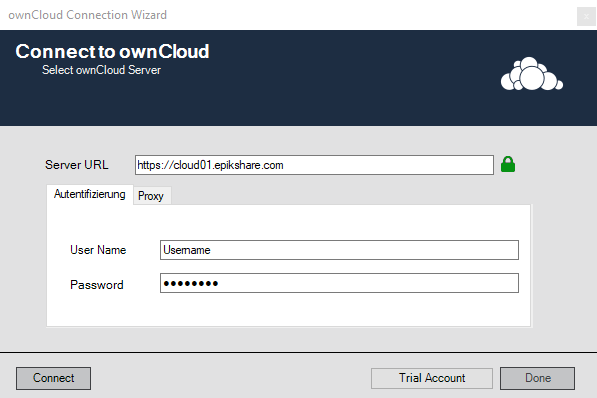
- Open Settings
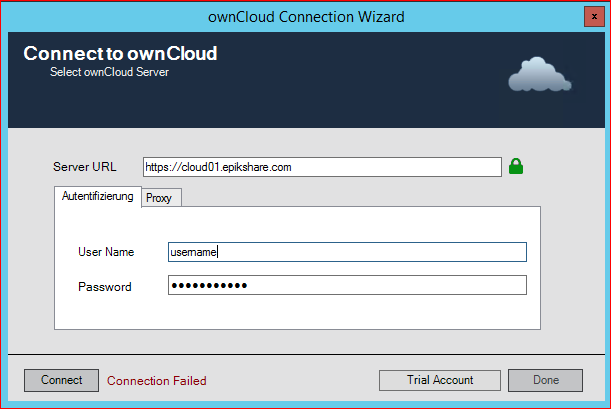
- Enter the https:// address of your ownCloud/epiKshare Server + Username + Password
- Click "Connect"
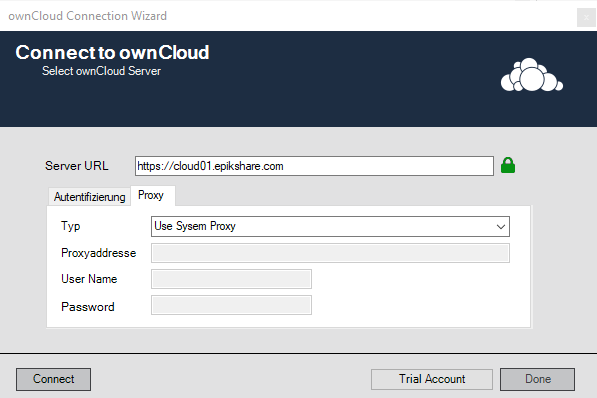
If you use a Proxy with username and Password, select Proxy -> custom
- Enter the Proxy URL + Username + Password
- Click "Connect"
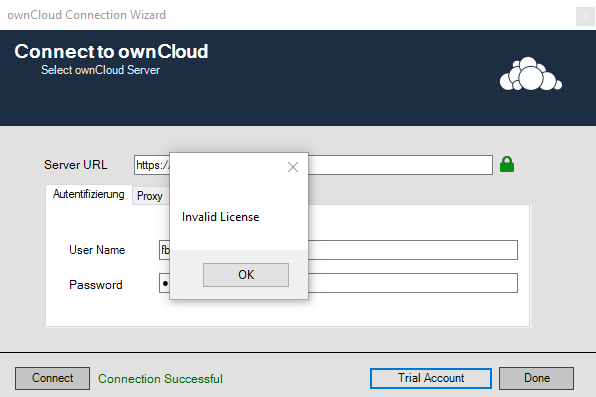
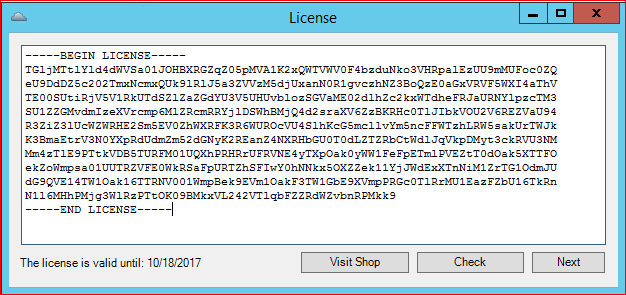
- To install a valid license or activate a demo license click OK
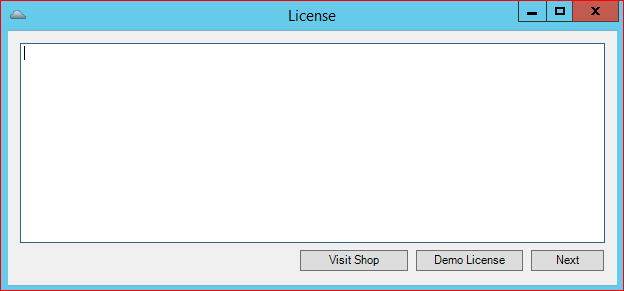
Install Demo- or User License
...
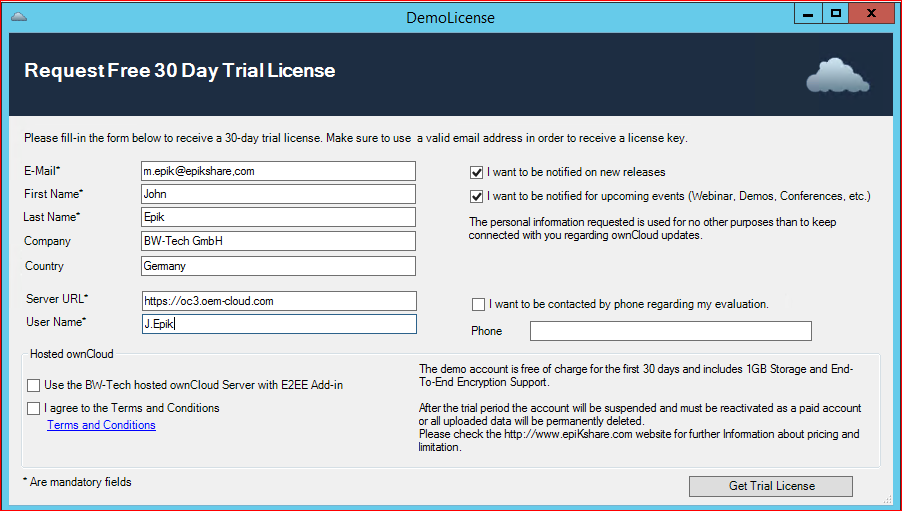
- Request your free 30Day Trial License
- Click "Next"
Connect to Your Cloud Server
- When you receive the Message: "Connection Failed"
- Test your credentials
- Check if your ownCloud/epiKshare Server is avaiable from this particular Computer
- Check if your Computer has a working Internet connection
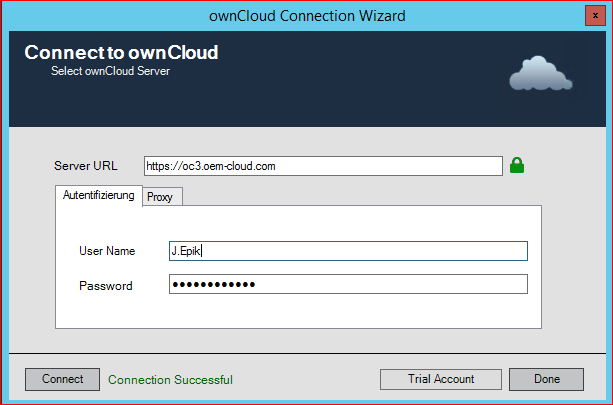
- When the initial connection was successful you should see the green message "Connection Successful"
- Restart your Microsoft Outlook
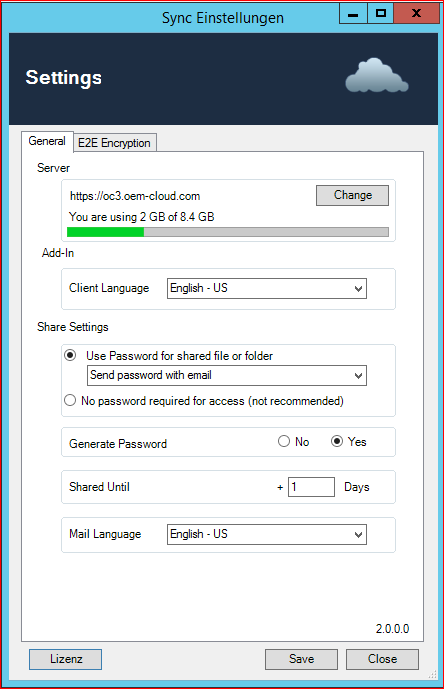
Default Configuration "Settings" of the Outlook- Add-In
- Server:
- Enter a valid ownCloud/epiKshare Server Ardesss, username and password
- overview of your used storage
- Add-In: Change the Add-In's Language
- Share Setting:
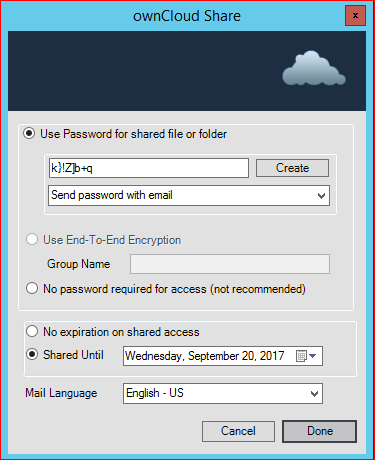
- Send password via separate email. When you share a file or folder, a separate E-Mail with a Password will be created in the background and sent automatically after creation
- !!Attention!! This option only works when the receipients E-Mail Address is a known contact or saved in you Address Book.
- Send password with email.
- This option will send the file or folders passwort within the same email
- No automatic Password sending
- This Option use a password, but it dosn`t send the password by mail
- Send password via separate email. When you share a file or folder, a separate E-Mail with a Password will be created in the background and sent automatically after creation
- Generate Password: When this option is enabled, a strong password will be created automatically
- Shared Until: The Share will be available for this number of days by default
- Mail Language: A pre-written text is inserted into the email in the selected language.
Send a File as a Link via Email
- Open a new email (In case you use Microsoft Office 2013/2016 pop-out the Message window)
- Select "Link to file"
- Select the file
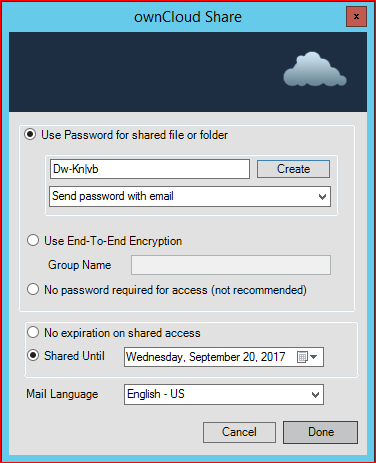
- Adjust or accept the sharing options
- Click Done
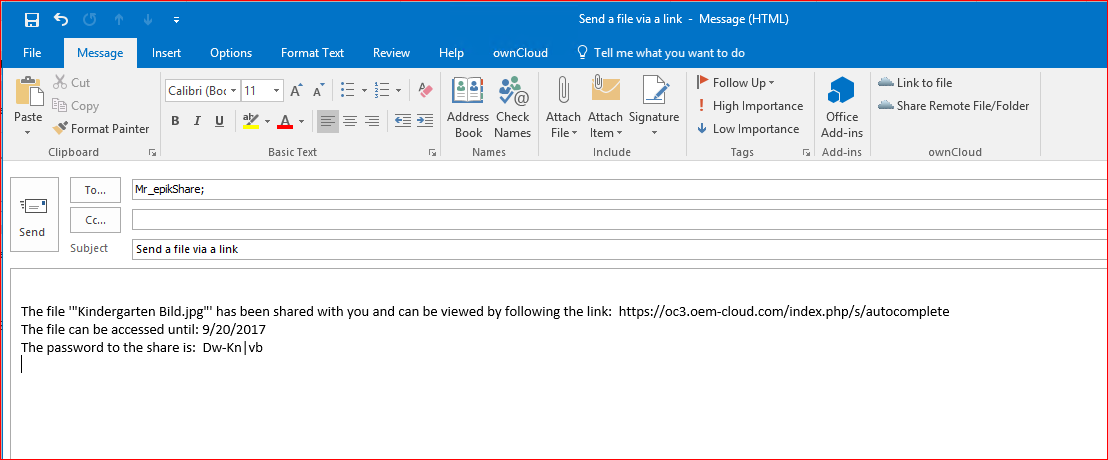
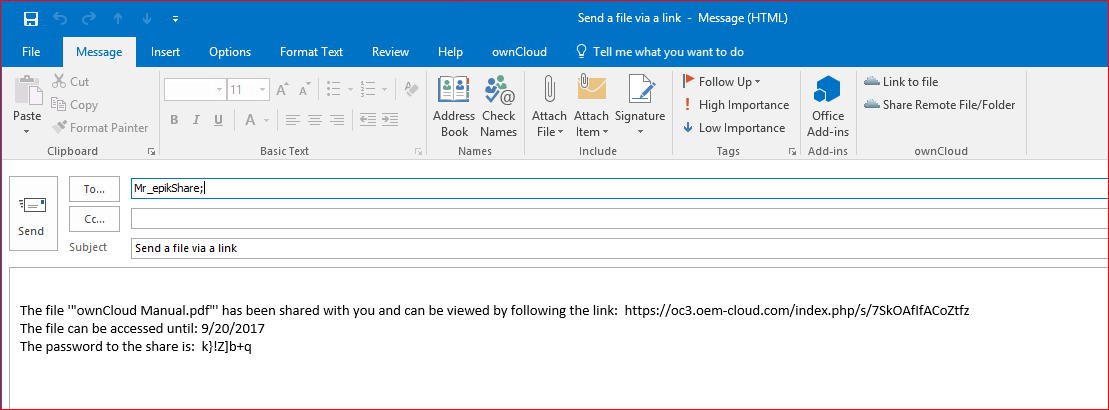
- The created email includes:
- Link to the shared file
- How long the share is available
- The password to access the link
- Now you can send the email
- The shared file will be uploaded in variable junk sizes
Share Remote File/Folder via Email
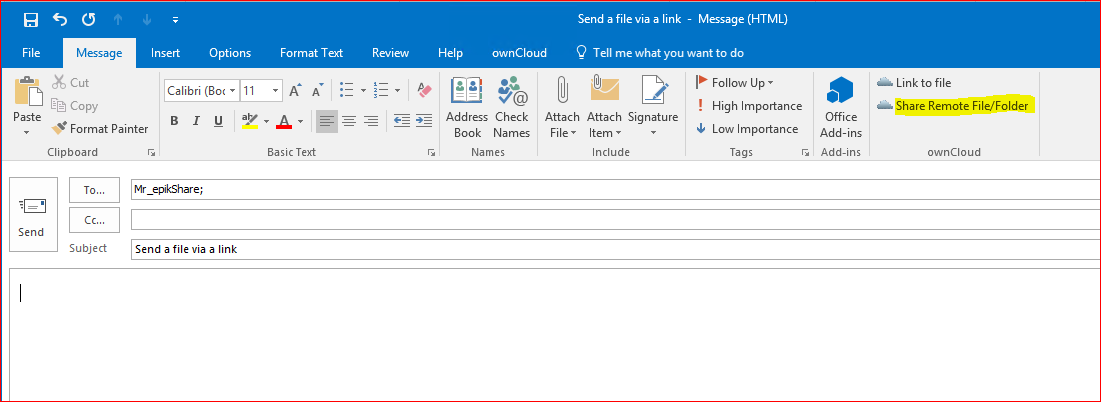
- Open a new email (In case you use Microsoft Office 2013/2016 Pop Out the Message window)
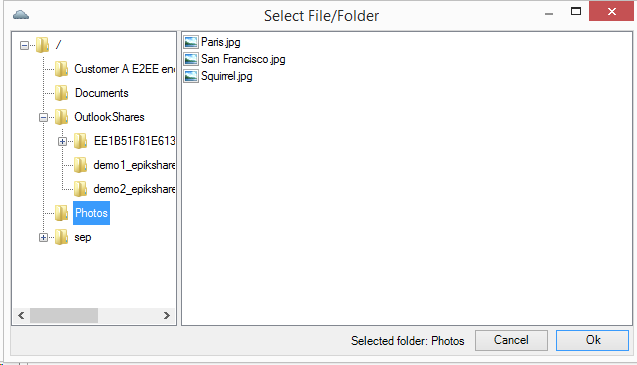
- Select "Share Remote File/Folder"
- The Outlook Add-In will browse via WebDav on you ownCloud/epiKshare Server
...
- Adjust or accept the sharing options
- Click Done
- The created email includes:
- Link to the shared file/folder
- How long the share is available
- The password to access the link
- Now you can send the email
My Outlook Shares
Check the Status of your Shares
...

