System Prerequisites
Windows Operating System 64 Bit: Win 7, Win 8.0, Win 8.1, Win 10, Windows Server 2012, 2012 R2, 2016
Microsoft Outlook 32 Bit and 64 Bit: 2010, 2013 and 2016
Download:
https://epikshare.com/sync-clients/?lang=en
Where To Buy
https://oc.oem-cloud.com/en/owncloud-outlook-plugin-annual-license
License
License type: Annual license per named user
Marketing and HowTo Videos:
https://www.youtube.com/playlist?list=PLw_eyGmVBqHBJsGqO_r5cX47ExW9bgioA
Manuall Installation:
- Download the Outlook Add-In
- Wiht outlook closed, install with an adminstrative account and follow the installation instructions
- Go to the Add-In Tab and open the settings to setup the host name and user credentials of the cloud server
- After the Installation restart your Outlook
Silent/Automated MSI Installation
Using the silent installation, you can skip the setup/configuration step.
Installation requirements: dotnet 4.6, Visual Studio 2010 Tools for Office Runtime (vstor_redist.exe) 10.0.60714
msiexec /qb /i "Outlook-AddIn.msi" SSO=true BASEURL="https://ownCloud.server.url" LICENSE="60513330-2a270eba-7772d5ae250eb6e12c9db3d5108e306ba82f0f13"
Initial Setup/Configuration
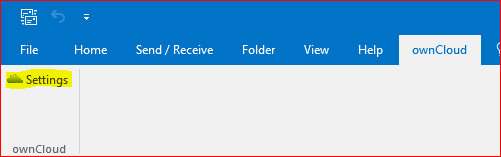
- Open Settings
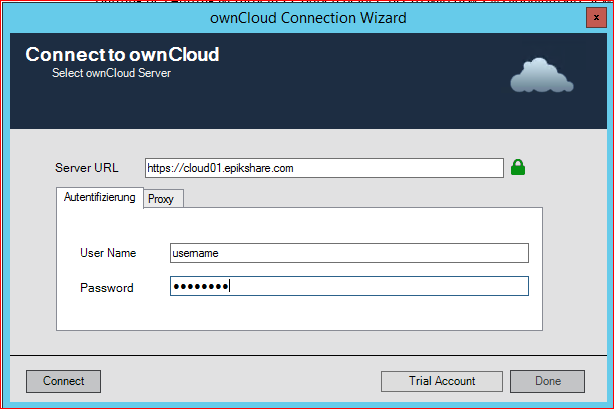
- Enter the https:// address of your ownCloud/epiKshare Server + Username + Password
- Click "Connect"
If you use a Proxy with username and Password, select Proxy -> custom
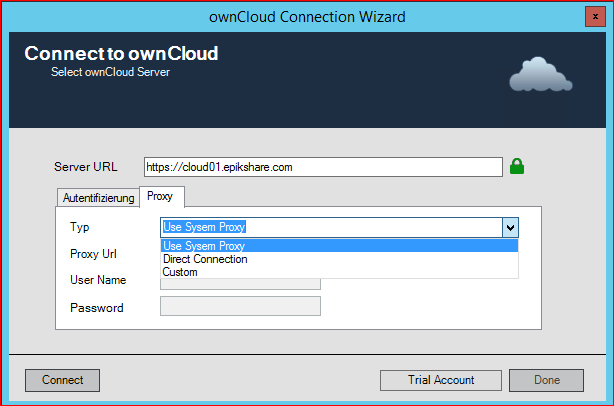
- Enter the Proxy URL + Username + Password
- Click "Connect"
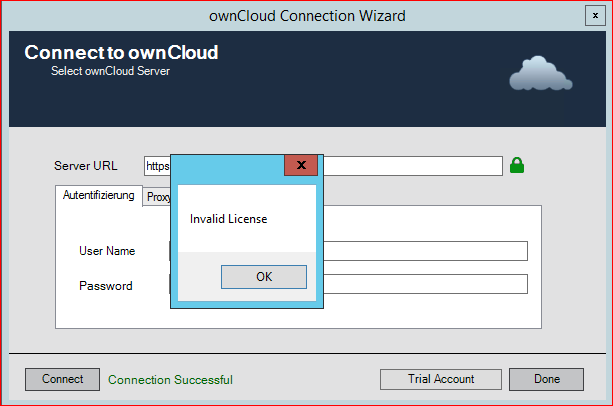
- To install a valid license or activate a demo license click OK
Install Demo- or User License
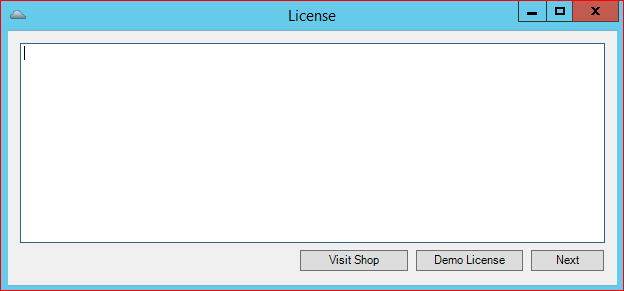
- Insert a valid license key or activate a "Demo Key"
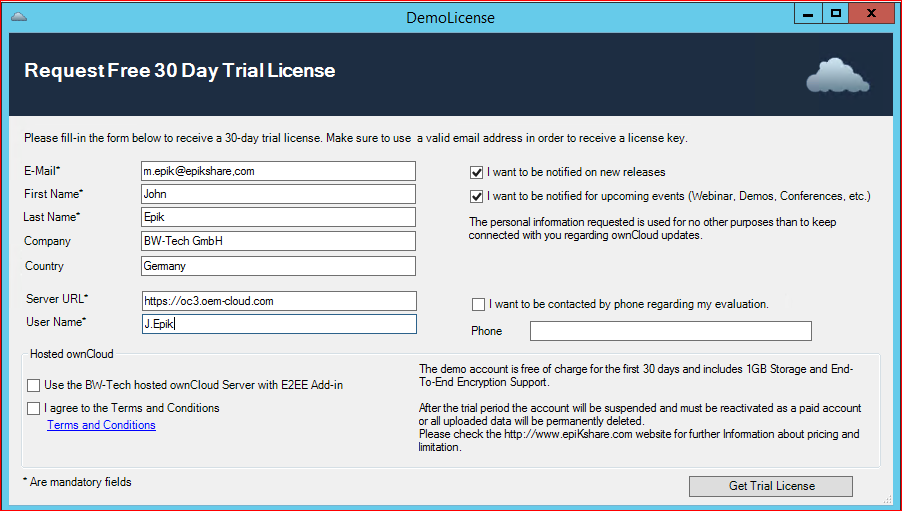
- Request your free 30Day Trial License
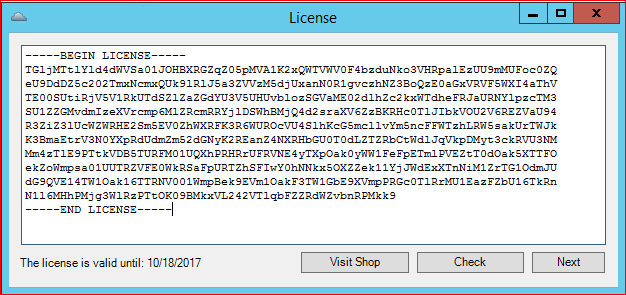
- Click "Next"
Connect to Your Cloud Server
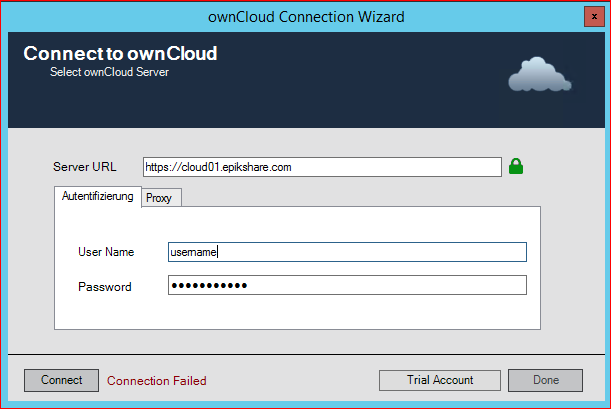
- When you receive the Message: "Connection Failed"
- Test your credentials
- Check if your ownCloud/epiKshare Server is avaiable from this particular Computer
- Check if your Computer has a working Internet connection

- When the initial connection was successful you should see the green message "Connection Successful"
- Restart your Microsoft Outlook
Default Configuration "Settings" of the Outlook- Add-In
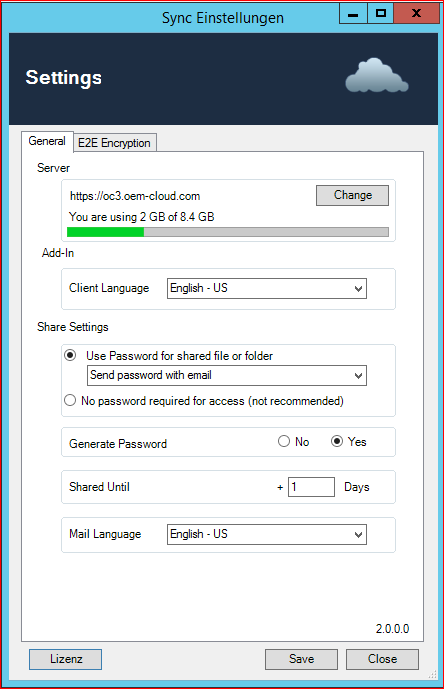
- Server:
- Enter a valid ownCloud/epiKshare Server Ardesss, username and password
- overview of your used storage
- Add-In: Change the Add-In's Language
- Share Setting:
- Send password via separate email. When you share a file or folder, a separate E-Mail with a Password will be created in the background and sent automatically after creation
- !!Attention!! This option only works when the receipients E-Mail Address is a known contact or saved in you Address Book.
- Send password with email.
- This option will send the file or folders passwort within the same email
- No automatic Password sending
- This Option use a password, but it dosn`t send the password by mail
- Send password via separate email. When you share a file or folder, a separate E-Mail with a Password will be created in the background and sent automatically after creation
- Generate Password: When this option is enabled, a strong password will be created automatically
- Shared Until: The Share will be available for this number of days by default
- Mail Language: A pre-written text is inserted into the email in the selected language.
Send a File as a Link via Email
- Open a new email (In case you use Microsoft Office 2013/2016 pop-out the Message window)
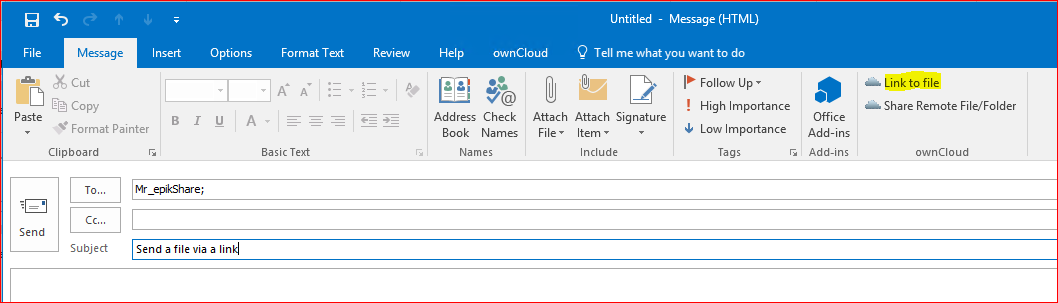
- Select "Link to file"
- Select the file
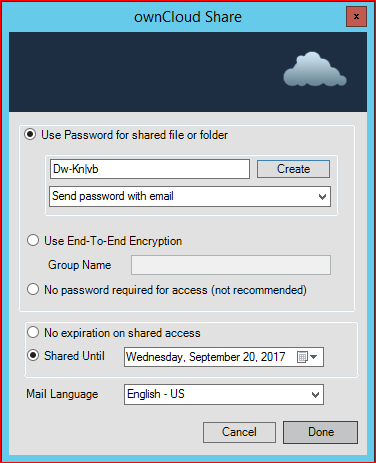
- Adjust or accept the sharing options
- Click Done
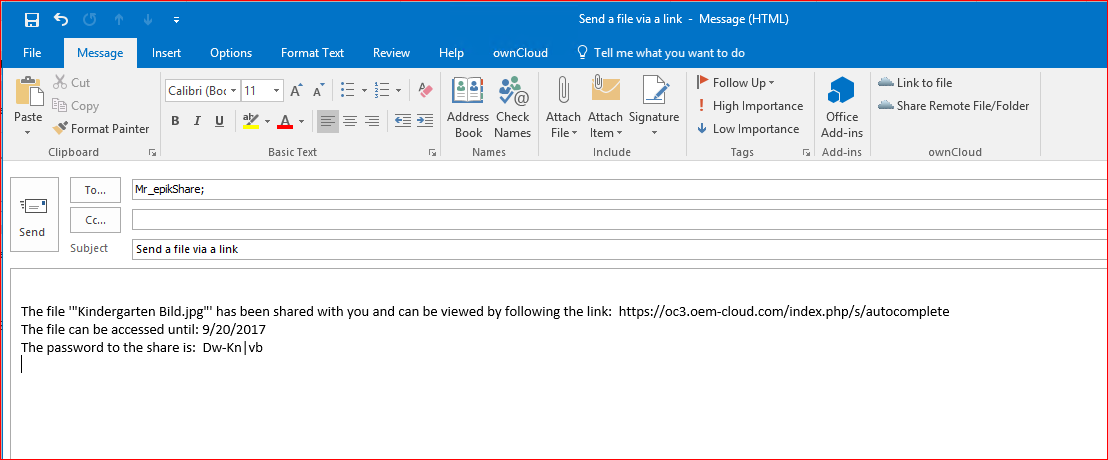
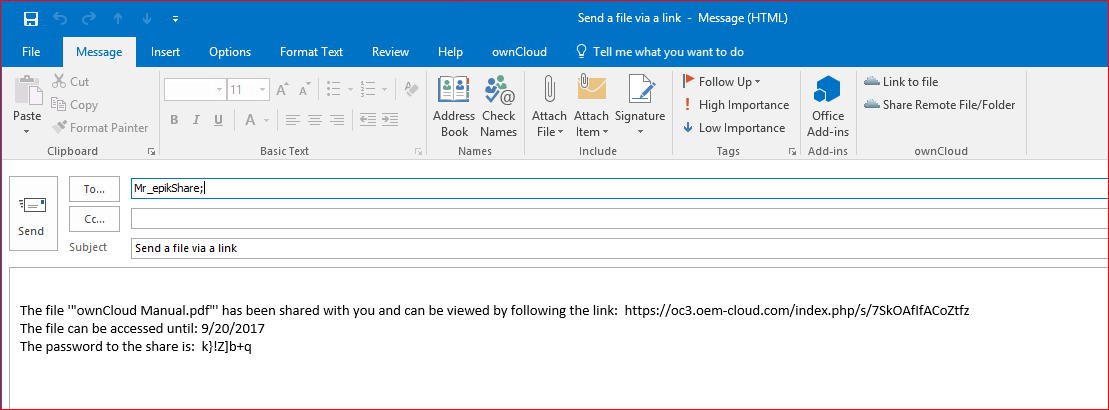
- The created email includes:
- Link to the shared file
- How long the share is available
- The password to access the link
- Now you can send the email
- The shared file will be uploaded in variable junk sizes
Share Remote File/Folder via Email
- Open a new email (In case you use Microsoft Office 2013/2016 Pop Out the Message window)
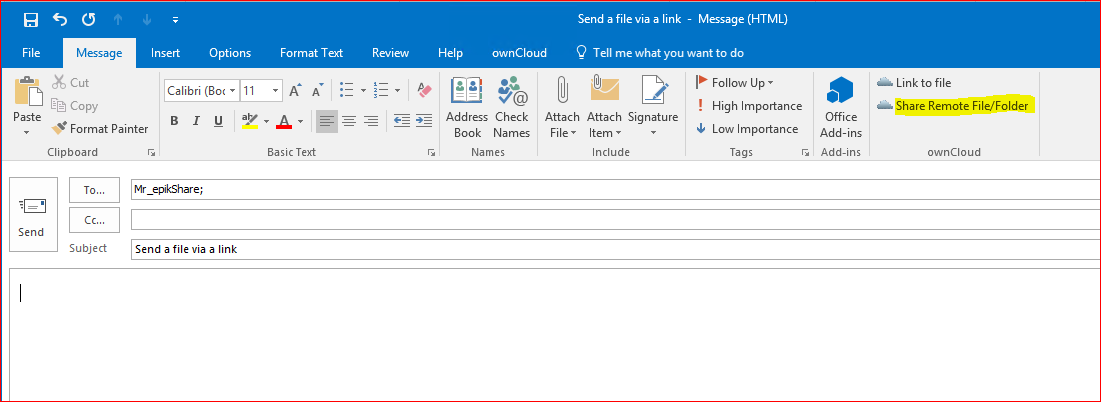
- Select "Share Remote File/Folder"
- The Outlook Add-In will browse via WebDav on you ownCloud/epiKshare Server

- Select the file/folder and accept with Ok
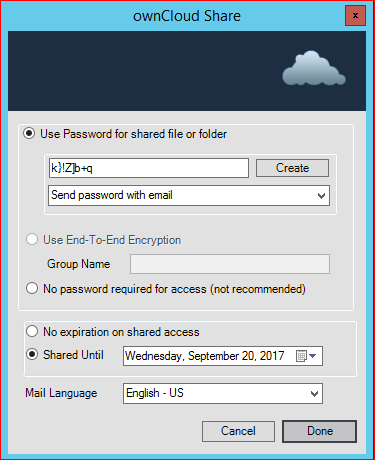
- Adjust or accept the sharing options
- Click Done
- The created email includes:
- Link to the shared file/folder
- How long the share is available
- The password to access the link
- Now you can send the email
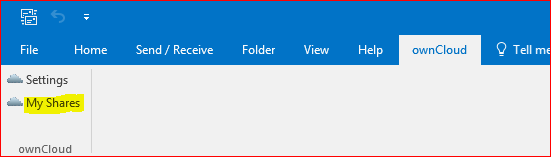
My Outlook Shares
Check the Status of your Shares
- Open the "My Shares"-window (Found in the Add-In Tab)
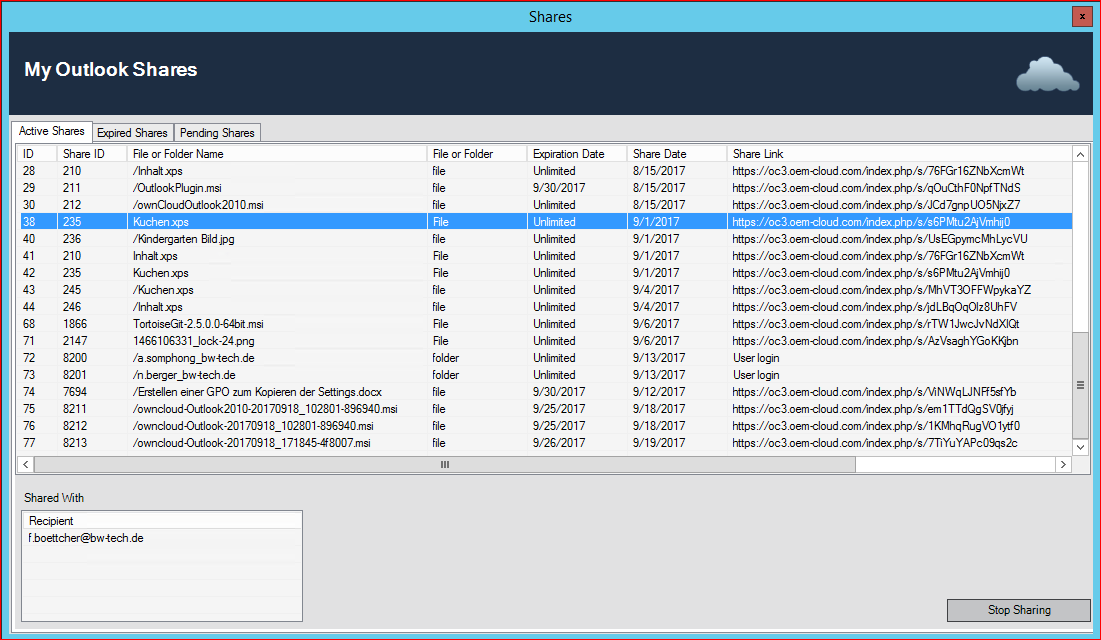
- Active Shares:
- Shared file or Folder Name
- Type of the share (file or folder)
- Expiration Date of the share
- Share Date
- Link to the shared file/Folder
- Recipient of the selected file or Folder share
- Button "Stop Sharing" to stop the selected share
- Expired Shares
- Shared file or Folder Name
- Type of the share (file or folder)
- Expiration Date of the share
- Share Date
- Link to the shared file/Folder
- Recipient of the selected file or Folder share
Troubleshooting
Check the Status of the E-Mails
For this:
- Open the "Your Shares"-window (Found in the Add-In Tab)
- Check the "pending shares"
- You should see the progress of each outgoing mail (i.e. uploading)
If the upload does not work, verify your credentials and internet connection.
If everything was correct check with an administrator to verify the version of the cloud server.